
Auto glass repair with resin requires preparation: clean and dry area, sand for smoother bond, protect surrounding areas, mix resin carefully in thin layers. Curing takes 24-48 hours, followed by polishing for a seamless, invisible repair suitable for dents too.
“Discover the power of resin for precise, long-lasting auto glass repair. This comprehensive guide walks you through each step, from preparing the damaged surface to expert application techniques. Learn how to mix and apply resin seamlessly, ensuring a strong bond. We’ll also cover the crucial curing process and final polishing for a flawless finish. Master these simple steps to effectively address small cracks and chips, extending your vehicle’s optical clarity and safety.”
- Prepare the Auto Glass Surface for Resin Application
- Mixing and Applying the Resin Properly
- Curing and Polishing the Repaired Auto Glass
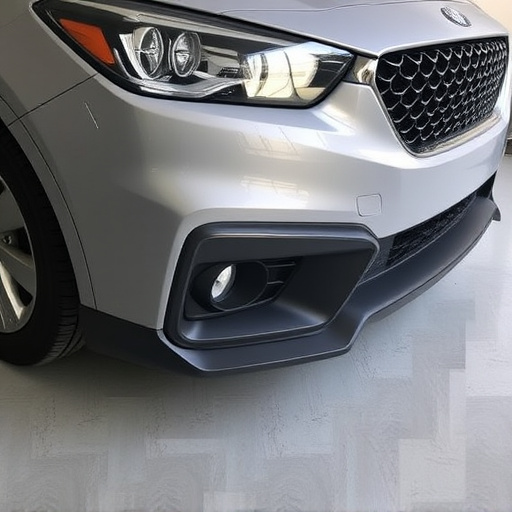
Prepare the Auto Glass Surface for Resin Application
Before applying resin for auto glass repair, it’s crucial to prepare the surface properly. Start by thoroughly cleaning the damaged area and its surroundings. Use a mild detergent and distilled water to remove any dirt, grease, or debris that could hinder adhesion. Dry the glass using a microfiber cloth to ensure no moisture remains. If there are any remaining traces of car paint services or vehicle repair work, lightly sand the surface with fine-grit sandpaper to create a rough texture. This process enhances the bond between the resin and the glass, facilitating an effective auto glass repair.
Additionally, inspect the frame and surrounding areas for any signs of damage or misalignment, as these could affect the overall repair quality. In cases where the frame needs straightening, consider engaging professional car paint services to restore it to its original condition. Once the surface is ready, lay down a protective layer of paper or plastic sheeting around the damaged area to prevent resin from sticking to unintended surfaces during application.
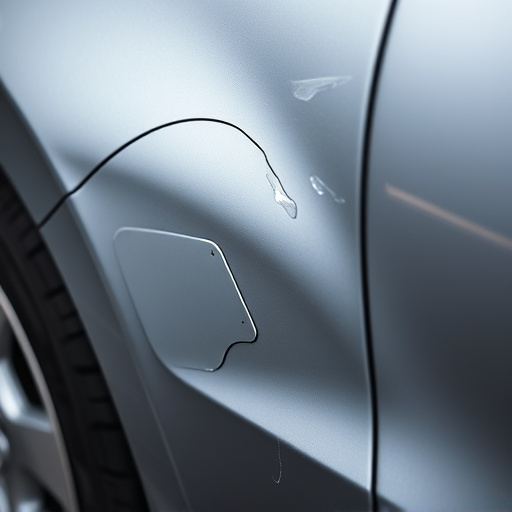
Mixing and Applying the Resin Properly
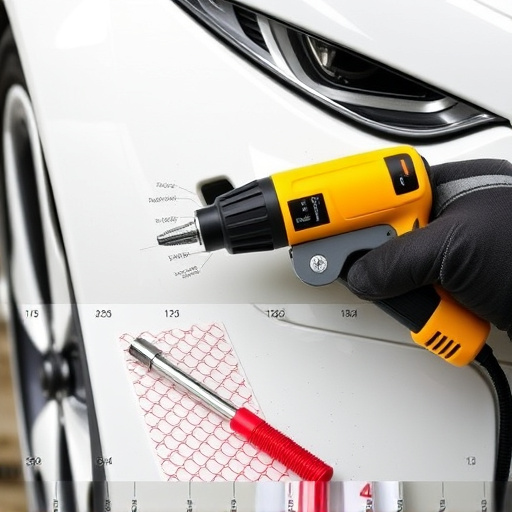
Mixing and applying resin for auto glass repair requires precision and care to achieve optimal results. Start by carefully mixing equal parts of hardener and resin according to the manufacturer’s instructions. This crucial step ensures a strong bond between the resin and the damaged area, ensuring a successful auto glass repair. Use clean tools, like spatulas and brushes, to prevent contamination that could weaken the adhesive properties.
Once mixed, apply the resin evenly over the cracked or chipped area using the appropriate tool. For best results, work in thin layers, allowing each coat to dry slightly before applying the next. This method prevents excessive build-up and ensures a smooth, seamless finish once the resin hardens. Remember, proper mixing and application are key to not just fixing the auto glass but also maintaining its structural integrity and clear visibility for safe driving conditions.
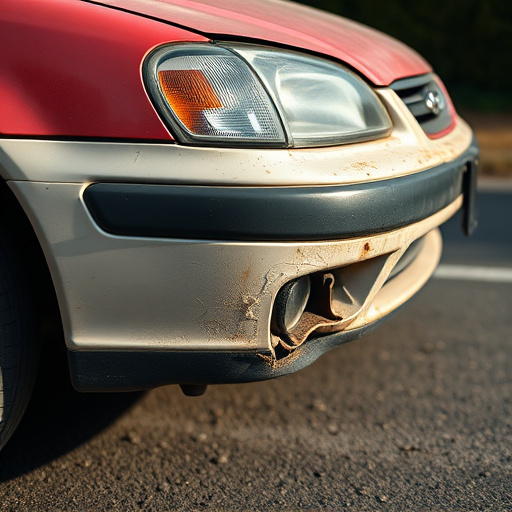
Curing and Polishing the Repaired Auto Glass

After applying the resin for auto glass repair, the next step is curing, which allows the resin to set and harden completely. This process typically takes 24 to 48 hours, depending on environmental conditions such as temperature and humidity. During this time, it’s crucial to keep the repaired area free from direct sunlight and excessive heat, as these can affect the curing process. Once cured, the surface of the glass needs polishing to ensure a clear, smooth finish that matches the original auto glass. Polishing also helps to conceal any visible signs of the repair, making it virtually indistinguishable from the surrounding glass.
A professional car repair shop often uses specialized tools and compounds to achieve this polish, ensuring the highest quality results for auto glass repair. Automotive repair services, including car dent removal, can also benefit from these polishing techniques as they contribute to a seamless, factory-like finish on all types of vehicle repairs.
Applying resin for auto glass repair can effectively fix cracks and chips, restoring your vehicle’s clarity and safety. By meticulously preparing the surface, mixing and applying the resin correctly, and ensuring proper curing and polishing, you can achieve a durable, high-quality repair. Remember that proper technique is key to a successful outcome, ensuring your auto glass looks as good as new.